After years of growing in popularity, authority sites are now an evergreen trend.
Now people from all walks of life and ages are creating sites and even building their entire businesses online.
And for good reasons!
It's a great way to attract an audience, establishing authority, sharing your story, making connections, and most importantly...
It can help you make enough amount of money to quit that 9-5 grind.
Tons of people already have and you would be the next.
Want definitive proof?
Here’s the 30-day earnings screenshot of one of the sites in my portfolio:

This is good money from a site, and I know, for most folks, an extra income of over $7,411.12 per month would be a life-changing amount of money.
It’s possible for anyone committed to reaching this number and even beyond.
So yes, blocks of text and a handful of images can help you make some (serious!) amount of money.
But how can you get started on your own making money site?
The internet is filled with a lot of information and everybody is telling a different story - it's just so confusing.
But you’re not alone, and your confusion isn’t unusual. I was at the exact place you are now at the start of my journey.
Now, though, I’ve built multiple sites over the years. So I’m in a great place to make sure you don’t make the same mistakes I did.
Not only will your path be easier, but you’ll also get there much faster.
And you know what’s surprising?
Starting a blog is much easier now than ever, even if you aren't tech-savvy and don't know how to code.
With a little bit of basic guidance and access to a few resources, you can get your site up and running in less than half an hour.
So, let's build the foundation of your site...
Step 1: Choose Your Preferred Blogging Platform
If you're a newbie or have only a little bit of experience with blogging, then you'll probably need a platform that will allow you to make changes in functionality, design and content simply. This will allow you to build and monetize your site without prior knowledge of coding.
Even at the beginning, it is important to think about where you want your blog to be in the next 2 or 3 years. This will save you a lot of time, effort and money in the long run, as you will make initial choices that allow for easy growth. Thank me later!
Here is a quick list of some popular blogging platforms:
I won't be going too much into detail about these platforms in this post.
I highly recommend WordPress.org as it's by far one of the biggest blogging platforms in the world. This means countless plugins are available and infinite ways to design and customize your blog just the way you like it.
You’d be surprised by how many well-known blogs are actually WordPress hosted!
According to W3techs, WordPress has 65.2% of the content management software (CMS) market share. Amazingly, that’s more than all other blogging platforms combined.
That’s why WordPress is my go-to platform for blog management.
WordPress comes both in hosted (WordPress.com) and self-hosted (WordPress.org) versions.
Don't worry, I'll go into detail about the pros and cons of both of these platforms to help you make a better decision and this will take us to the next step.
Step 2: Should You Start a Free Blog or a Self-Hosted Blog?
This step is crucial! If you ignore this, you could waste a lot of your time, effort, and money.
As I've already mentioned hosted and self-hosted versions of WordPress, you might be wondering what the difference is and which you should choose.
Of course, many would veer towards the free option as it doesn't cost money (obviously, that’s what ‘free’ means). But this may be a false economy. There are pros and cons to both options.
WordPress.com Pros
This blogging platform is a good choice for hobby bloggers, people who want to start a blog for their family and all-in-all for those who aren't particularly interested in making money from their blogs.
The only benefits you can get using this platform, including:
WordPress.com Cons
There are several limitations of WordPress.com which make it unacceptable for folks who are serious about making money and establishing authority.
Here are the limitations and disadvantages that may hold you back:
As we can see, WordPress.com is extremely limited for free plan users. And even if you upgrade to a paid plan, you still can't unlock some advanced features. Additionally, the cost of the Business ($299/year) and VIP plans ($5000/m) are high despite a lack of features.
WordPress.org
WordPress.org is the actual popular blogging platform you’ve probably heard good things about. It's open-source and free to use for everyone. All you need is a domain name and web hosting, and you're all set up to use this back-end system.
Below are the pros and cons of using this self-hosted platform:
WordPress.org Pros
WordPress.org Cons
The real cost of your website depends on what you're trying to build (blog, portfolio website, eCommerce stores, membership site, etc.). There are also other factors like free theme vs. paid theme, free plugins vs. paid plugins, etc. It would be best if you considered each of these on a case-by-case basis to figure out the real cost of the website.
However, we'll talk about authority sites ONLY here as they are most profitable business model. On a low budget, you can build it for as little as $45 per year.
Step 3: Find a Profitable Niche
Finding the right niche is one of the most important parts of starting a money-making blog. And yet, it often gets overlooked.
If you pick a super competitive niche (which is often tempting as they look like they get a lot of traffic), you'll most likely end up buried by more experienced competitors. But if you pick a smaller niche with no demand, your blog will barely make any impact. No one will want to read it!
Before finalizing the subject for your blog, these are the steps you'll need to follow to find a profitable niche that will generate traffic to your site and eventually turn into a consistent income stream:
Step 4: Secure a Domain Name and Set Up Web Hosting
Once you've chosen the qualifying niche for your site, it's time to decide the domain name of your blog. Remember, this will also be your brand name. It's how your brand will be recognized and remembered.
This is a fun part of starting a blog, but I want you to take it seriously as this is a permanent decision and choosing the wrong name will likely result in disappointment later on.
Of course, you can rebrand later on but this will likely cause the loss of organic traffic and followers on your social media accounts, so it’s better to get it the right first time.
I’ve made naming mistakes quite a few times, which is why I’m qualified to help you avoid them!
To select a suitable and memorable name that matches your business, consider these tips:
Once you are done brainstorming domain names for your blog, it's time to check your preferred domain’s availability. If it turns out to be unavailable, then you will need to choose a different name or variable until you find the right one available. A shortlist of names is a good idea for this reason.
Recommended Reading: How to Choose a Brandable Domain Name
A blog name will cost you roughly $10 to $15 per year. Web Hosting will also have minor costs, and that's required to save your blog's content and make it accessible through the internet.
You can't choose one over the other, these two are integral and indivisible. Without web hosting, your blog can't be accessed online and without a domain name, your blog won't have an address.
There are plenty of web hosting providers to choose from. The prices generally range from $3 to $300 per month. For beginners, I'd recommend choosing DreamHost for your web hosting.
I found DreamHost to be noticeably faster and extremely reliable. In addition, their hosting plans are affordable and offer certain features at no extra cost compared to other web hosting companies. On top of that, their customer support is some of the best in the industry.
If you're just starting, then I'd recommend you to go with the WordPress Unlimited plan. This is a super affordable plan with a nice variety of pricing so that you can pay in either monthly or annual installments.
Monthly plan starts at $8.95/m, whereas the annual cost is only $2.95/m. This means you’ll save more by paying for the annual plan outright, and you’ll also get a free domain for the first year.
If you're not sure how to do that, head over to the DreamHost WordPress Hosting page and click “Sign Up Now.”

At this point, I assume, you've chosen your domain name, so click on “Register a new domain.” But if you haven’t yet chosen the name, you can still arrange now to register it later by clicking on “Choose a domain later.”
Make sure you register it within 30 days of sign up. Otherwise, you may end up missing your free domain name.

Now, enter your domain name in the search bar, click on the search button and select “Add For $0.00”. Make sure you set the domain extension to .com.

During this step, first, enter your credit card / PayPal information and click on “Add New Card.”
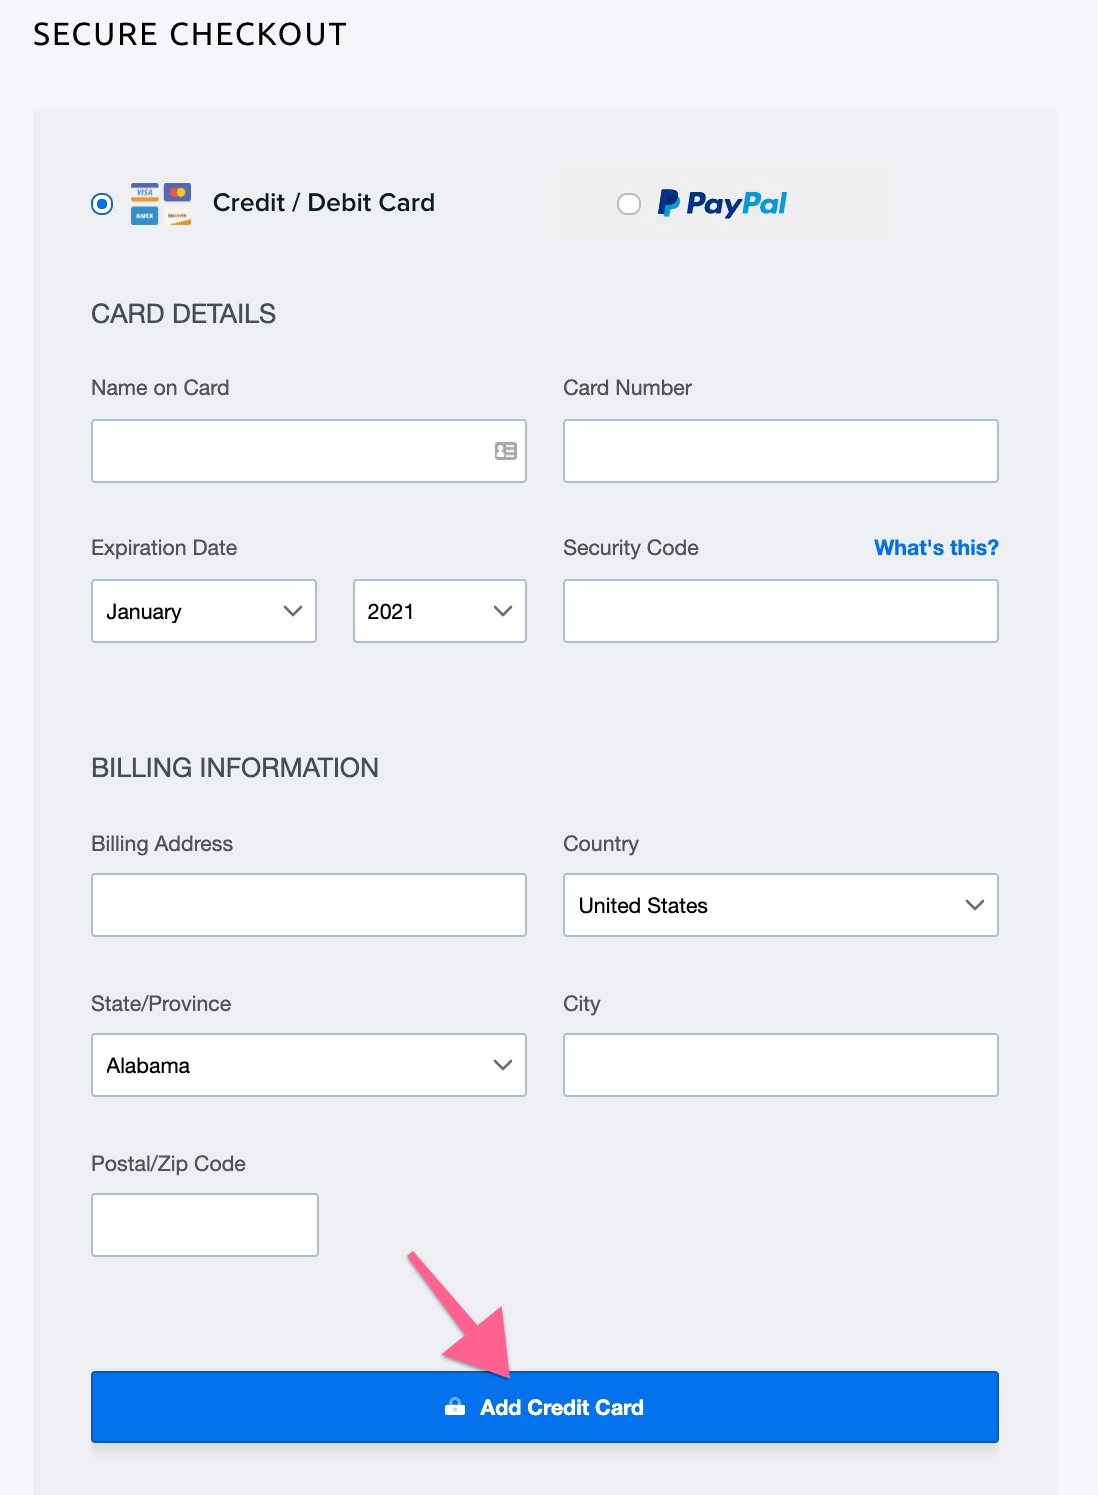
Scroll a bit below and enter your details.
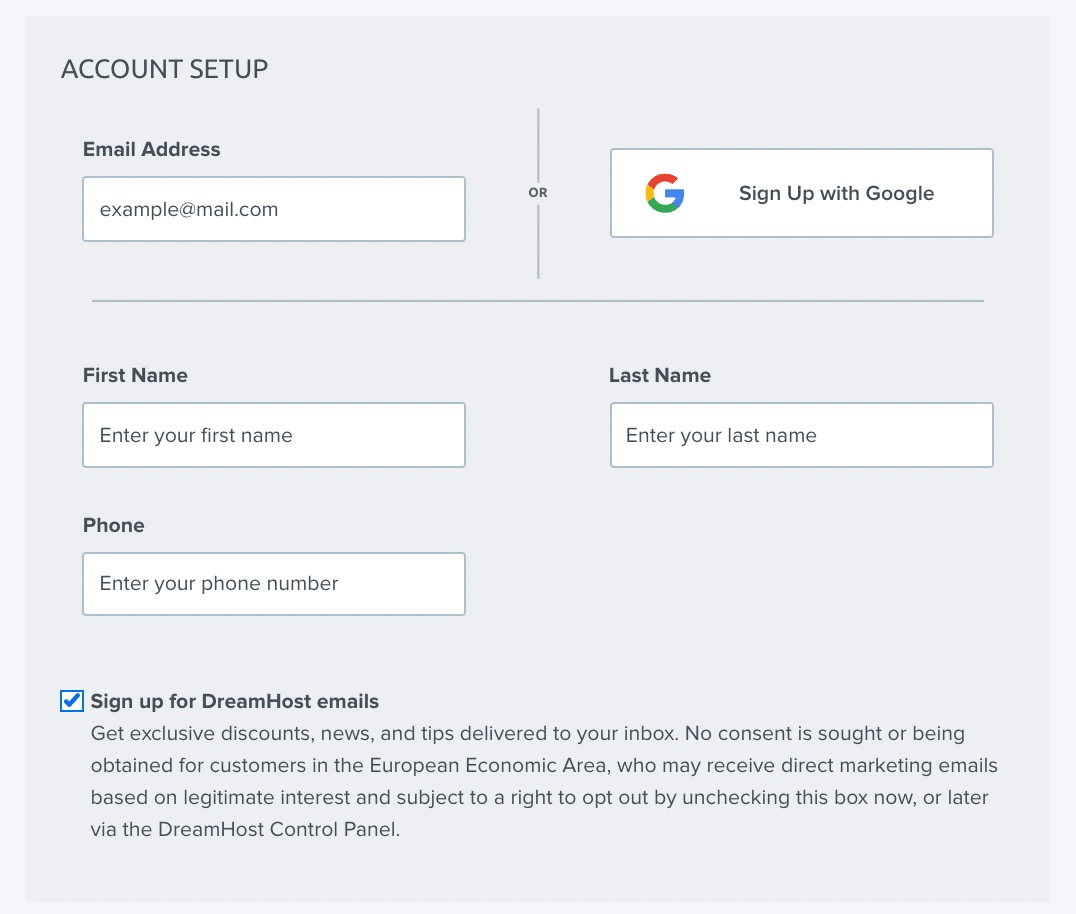
Lastly, there are some additional features. Let’s have a quick look and walkthrough, which ones you need and which you can skip.
- Pre-Install WordPress - Free: This feature will automatically install WordPress and you can get started right off the bat.
- DreamShield Protection: This will check your site regularly for malicious codes and outdated software. You don’t need it as there are much better options out there.
- DreamHost SEO Toolkit: You don’t need it. There are far better free and paid alternatives out there, such as Ahrefs and SEMRush.
- Google WorkSpace: This helps to manage your business email address on Gmail like name@domain.com. It’s definitely good to have it for your site but if you’re not yet ready, you can always have it later on. It is totally worth the extra investment.
Finally, before submitting your order, make sure you uncheck the boxes for additional features that you don’t need, read the renewal terms and click on “Submit Order.”

As the payment is processed, you’ll see an order success screen. Here, you’ll have to set up your hosting account password and click on the button to continue to the Control Panel.

Your hosting account will be set up in just a few minutes, and the world's most popular content management system, WordPress, will automatically be installed and ready to use.

Once done, you'll receive a confirmation email. But before this, I highly recommend installing an SSL (Secure Sockets Layer) on your site. Otherwise, you’ll see a “Not Secure” warning on your website URL, and so will visitors.

SSL protects the information passing between your website and visitors. This is a sign of trust for your audience and will help boost your search engine rankings.
This can be done in just a matter of a few clicks. On your hosting dashboard, right at the left side, click on “Websites” >> “Secure Certificates” and click on the “Add” button.

DreamHost provides you with a free SSL certificate, click on “Select this Certificate” to start the installation.
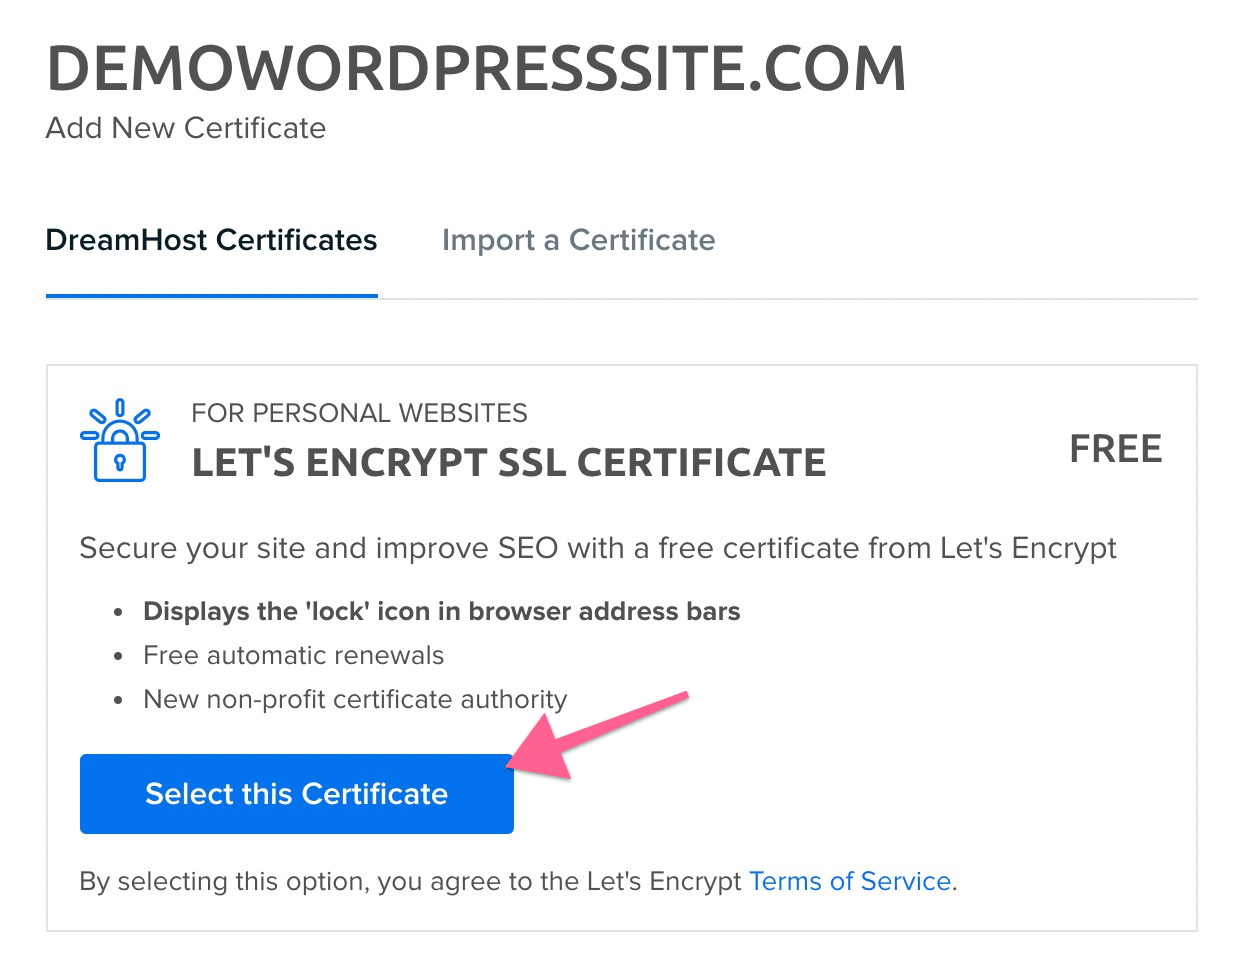
This will take a few minutes, and your site may go down for a while but it will soon be up and running with protected SSL, so don’t panic!
Next, you’ll have to click on the link in the email to set up your WordPress site password.

That’s it!

Now enter your WordPress login details and click "Log In" to enter your website.
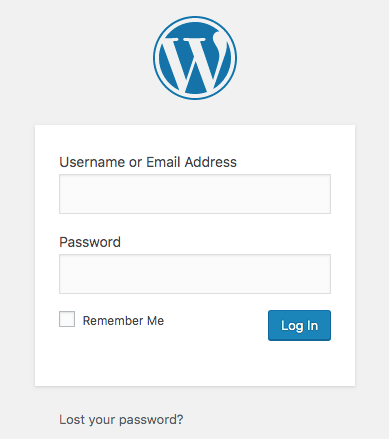
You're all done setting up your WordPress blog successfully. Now the next step is to design your blog to make it look elegant and authoritative.
Step 5: Design Your Blog
Now you'll be logged in to your WordPress site. The back end (which is called dashboard) might look a bit daunting if you're using it for the first time, but you'll be an expert with a little practice.

The first step to designing your blog is choosing a flexible theme. While WordPress offers thousands of free themes, there are also paid ones available to choose from.
The questions here are, which option is better for you, and is it necessary to use a premium theme to create a professional-looking and authoritative blog?
Let's have a look at the pros and cons of both free and premium themes.
Pros of Free Themes
Cons of Free Themes
Pros of Premium Themes
Cons of Premium Themes
So, if you're willing to spend an extra $50 to $70 then I highly recommend choosing a premium theme for your blog.
My recommendation is the Astra Pro theme. This is the theme, I use on Rank Ace and my internal portfolio of sites.

Astra Pro is the one of most popular themes of all time. And for good reasons. It's:
It's trusted by 1,653,898+ websites and big giants like NASA and Google. If that’s not an endorsement, I don’t know what would be!
To install your premium theme, hover over "Appearance" on the side menu and click "Add New."

If you've purchased the Astra theme, you will need to upload it. Just click on "Upload Theme" to upload your theme file and click on “Install Now” to install the theme files.

Once done installing, click on the "activate" button to activate the theme on your site.

Make sure you also upload the “Astra Pro Addon” plugin. It’s essential to unlock all the pro features that help take your customization to the next level.
To do this, just upload the plugin and activate it following the steps.

Activating your license is important to receive theme updates and support for any technical issue you may experience on the theme.
Next, activate all the pro features by clicking on the “Activate All” button.

There are endless customizations that you can make with the Astra theme. So, play with it and if you are ever stuck, you can always check out Astra Customization Doc to find an instant solution for any customization issues.
Remember, there is no need for too many bells and whistles. The key here is to make a usable, attractive site and gain momentum by building content. A flashy site design doesn’t make up for an empty blog!
Next step?
Optimizing your site for search traffic.
Step 6: Setup Essentials and Optimize Your Site for Search Traffic (Mainly Google)
Search engine optimization (SEO) is a multi-billion dollar industry. This is the process to optimize your website to appear in the search results for particular queries and phrases.
If you're new to blogging, this may seem daunting. However, most of your SEO efforts will go into creating content and building a close relationship with your readers.
WordPress offers hundreds of thousands of plugins that help you extend the functionalities or add new features to your website. For example, you can use a plugin to add a contact form, slider or track the visitors on your website.
Just like other aspects of basic site building, we’ll stick to the essentials here as well.
Rank Math SEO is a good start. It's an all-in-one SEO Plugin that enables you to optimize the technical aspects of your website for search traffic.
To install this plugin, hover over to "Plugins" on the side menu and click "Add New."

Search for "Rank Math SEO" and click on the "Install" button. Once the installation is completed, click on "Activate" to make it fully activated on your site.

Once the plugin is activated, click on "Rank Math" on the side menu.
Here you'll need to create your Rank Math account, click on "Skip Now," to go to the official website to sign up.

You’ll see a login box pop-up automatically. However, if you’re doing it for the first time, you’ll have to create your account first. To do this, click on “Register Now.”
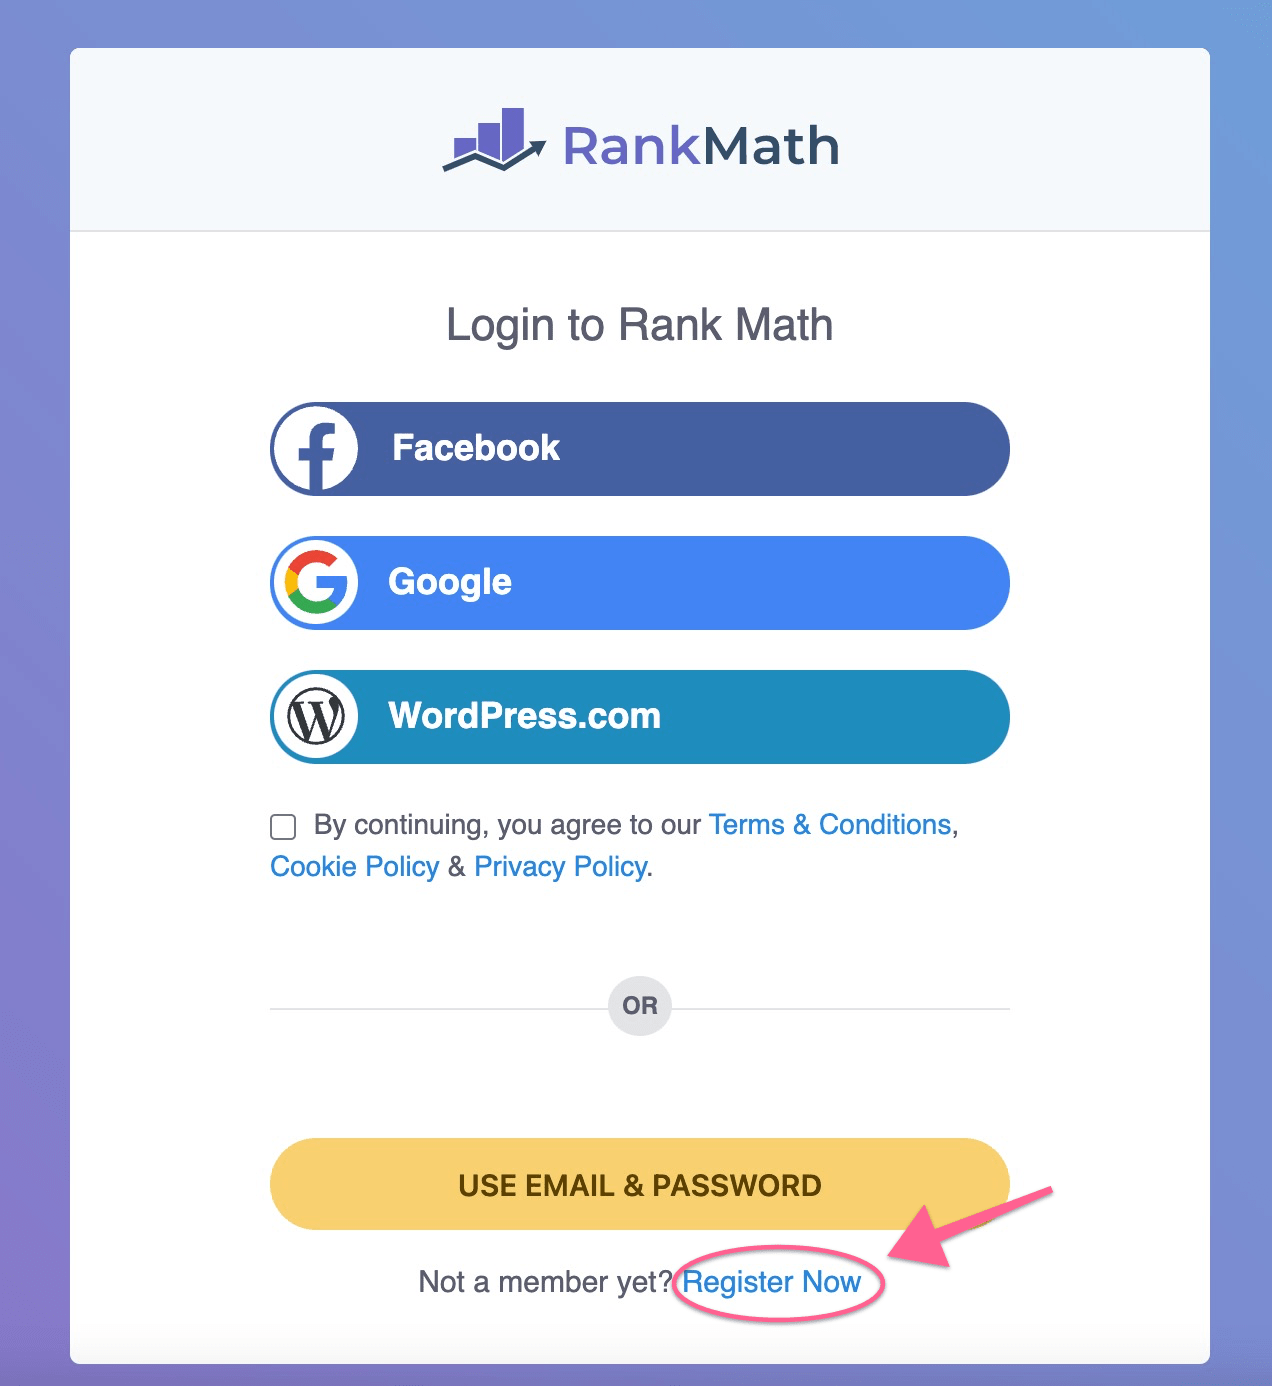
RankMath offers you multiple choices to create your account. You can go for any option you like:

You'll receive your login details in your inbox, enter them to the Rank Math login page and activate the plugin by clicking on the "Activate Rank Math" button.

Step 1: You’ll have to choose your Rank Math settings. I recommend you to go with Advanced settings and click on "Start Wizard" to begin the technical optimization process of your WordPress site.
This allows you to adjust everything yourself for better optimization of every aspect of the site.

Step 2: Select what type of blog you want. Probably, it's a personal blog. Next, you'll need to add the logo for Google and social share image (if you wish) and click on "Save and Continue" to move to the next step.
(Note: If you don't have your website's logo at the moment, you can continue without it, you can always adjust any setting whenever you want).

Step 3: Rank Math will effortlessly link your site with Google Search Console, Google Analytics and Sitemaps. If you don’t know about these:
Google Search Console - This is an official website management tool by Google to see important information about your website and resolve issues related to the search engine.
Google Analytics - This helps you track and analyze your website traffic.
Sitemap: This contains the list of the pages on your site.
Once you set up Rank Math with Google Search Console, it can fetch all important information from Search Console and display it right in your WordPress admin to help you better understand your website performance in search engines.

Here you'll need to log in to your Google account (if you don't have a Google account then create a new one).

By logging in, you'll see a confirmation box asking for permission about access that the Rank Math plugin will get. Click on "Continue" to confirm and proceed.
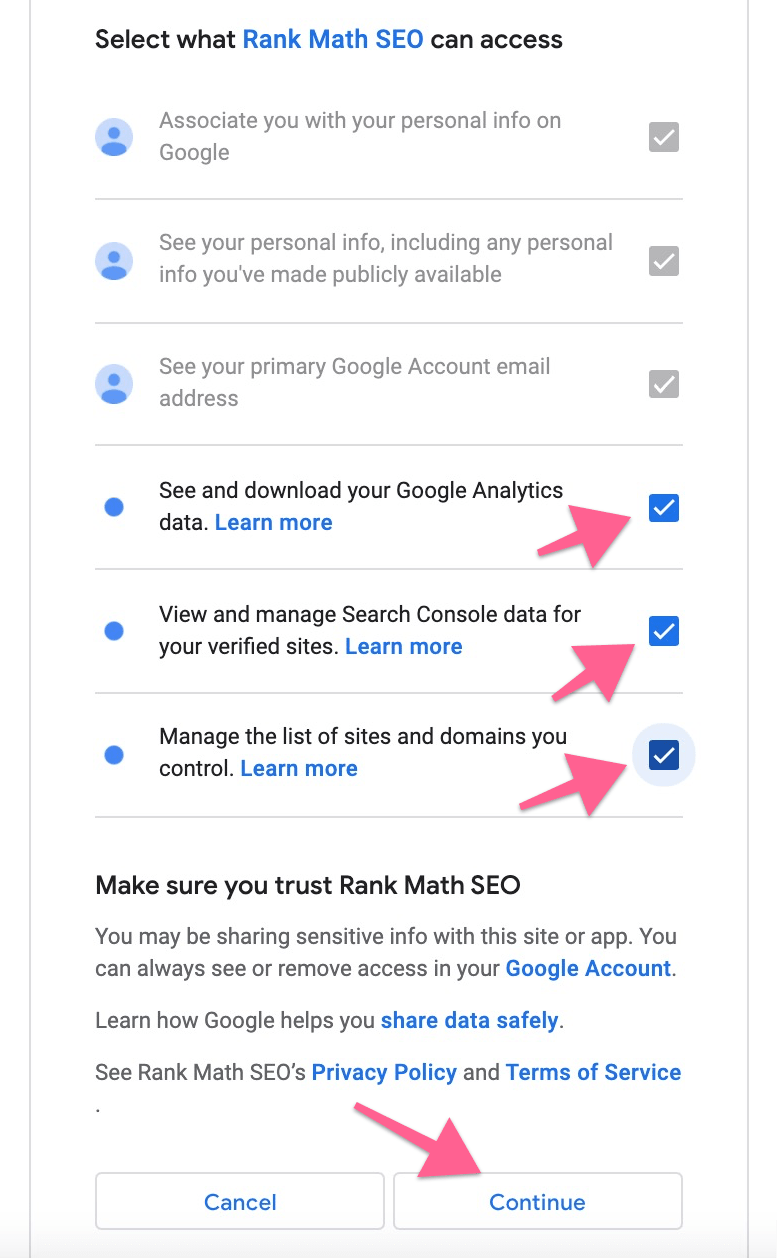
Rank Math will automatically verify the code and authorize the Google Search Console account of your site. Next, select your Google Analytics account (create one if you don’t have one already).
As I'm assuming this is your first site, you'll be seeing your website listing in Search Console Profile. Just click on the "Save Changes" button given at the bottom of the page.

Step 4: This "Setup Wizard" step is all about sitemaps that help search engines discover your website's content and index it properly. On this page, you can configure the various sitemap options.
By default, the setting is all good, so you don't need to make any changes. Just click on "Save and Continue" to move to the next step.

Step 5: By default, this section doesn’t require any changes. Once done, click on "Save and Click" to move to the last step.

Step 6: This is the last step, and you’re done! Rank Math has been set up completely on your site. Click on “Return to Dashboard” to get back to the WordPress dashboard.

Set up Permalinks
Permalinks are the permanent URLs of your blog posts and pages on your WordPress website. By default, WordPress sets your permalinks to yourwebsite.com/PostID.
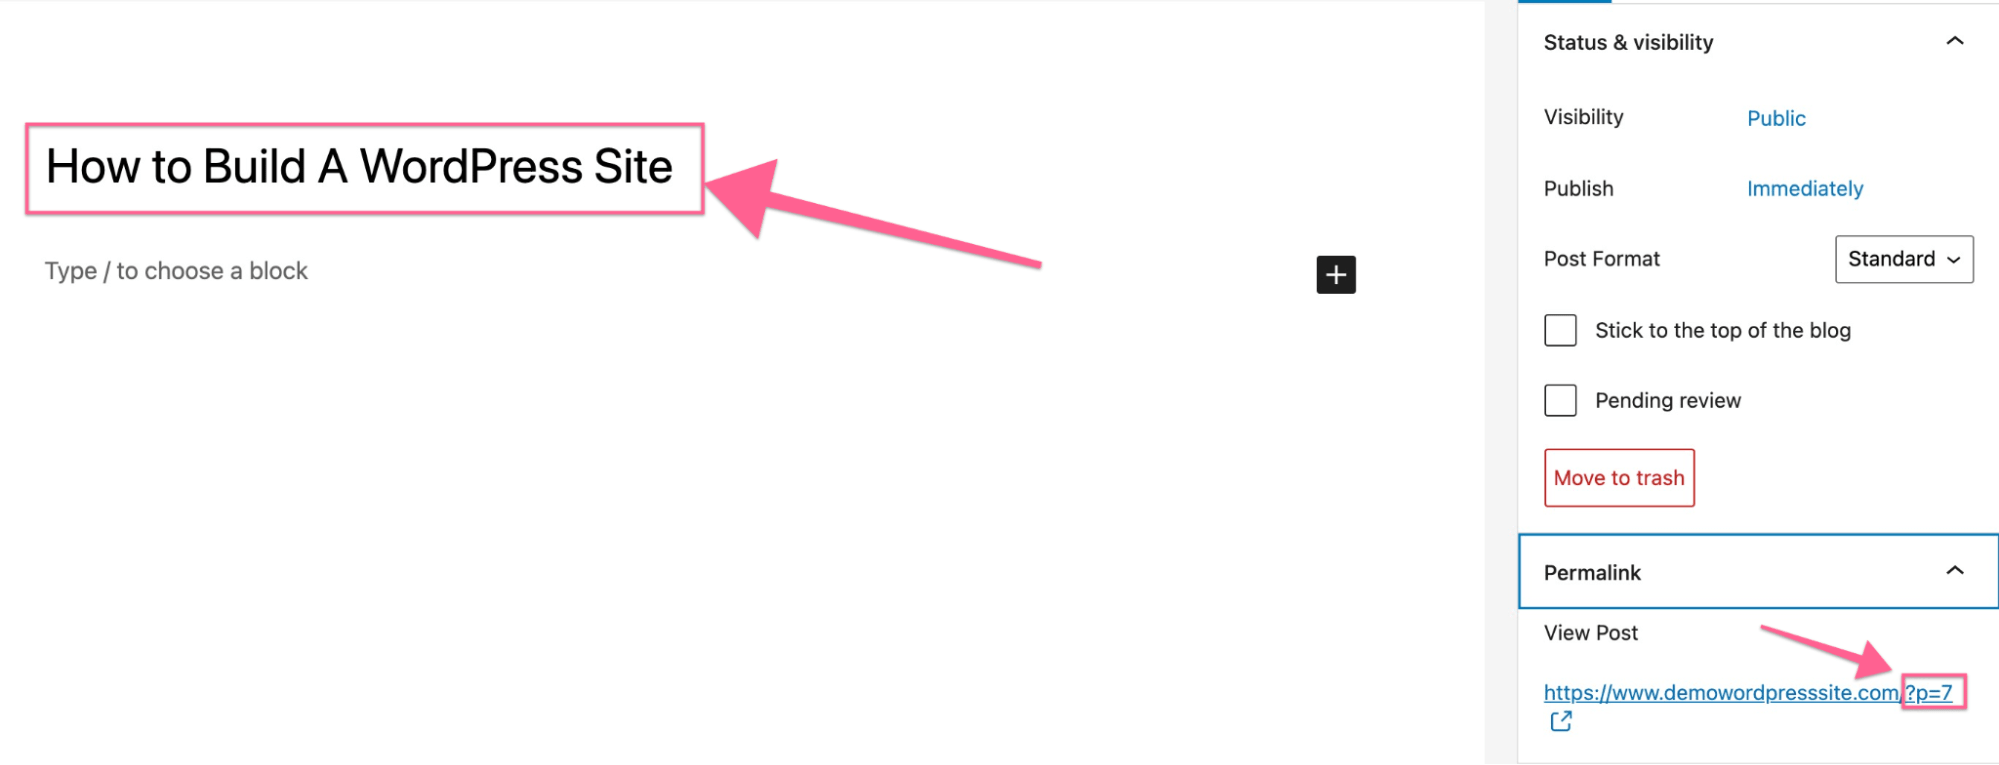
This isn't the best format as it doesn't tell the human reader what the page is about before viewing. Fortunately, WordPress provides the option to change the permalink structure to make it more user and search engine friendly.
To fix your permalink structure, hover over to "Settings" on the side menu and click on "Permalinks."

WordPress offers a variety of permalinks structures to choose from. However, the one that stands out is "Post Name." This uses the name of the title to create a unique permalink for your blog post or pages.
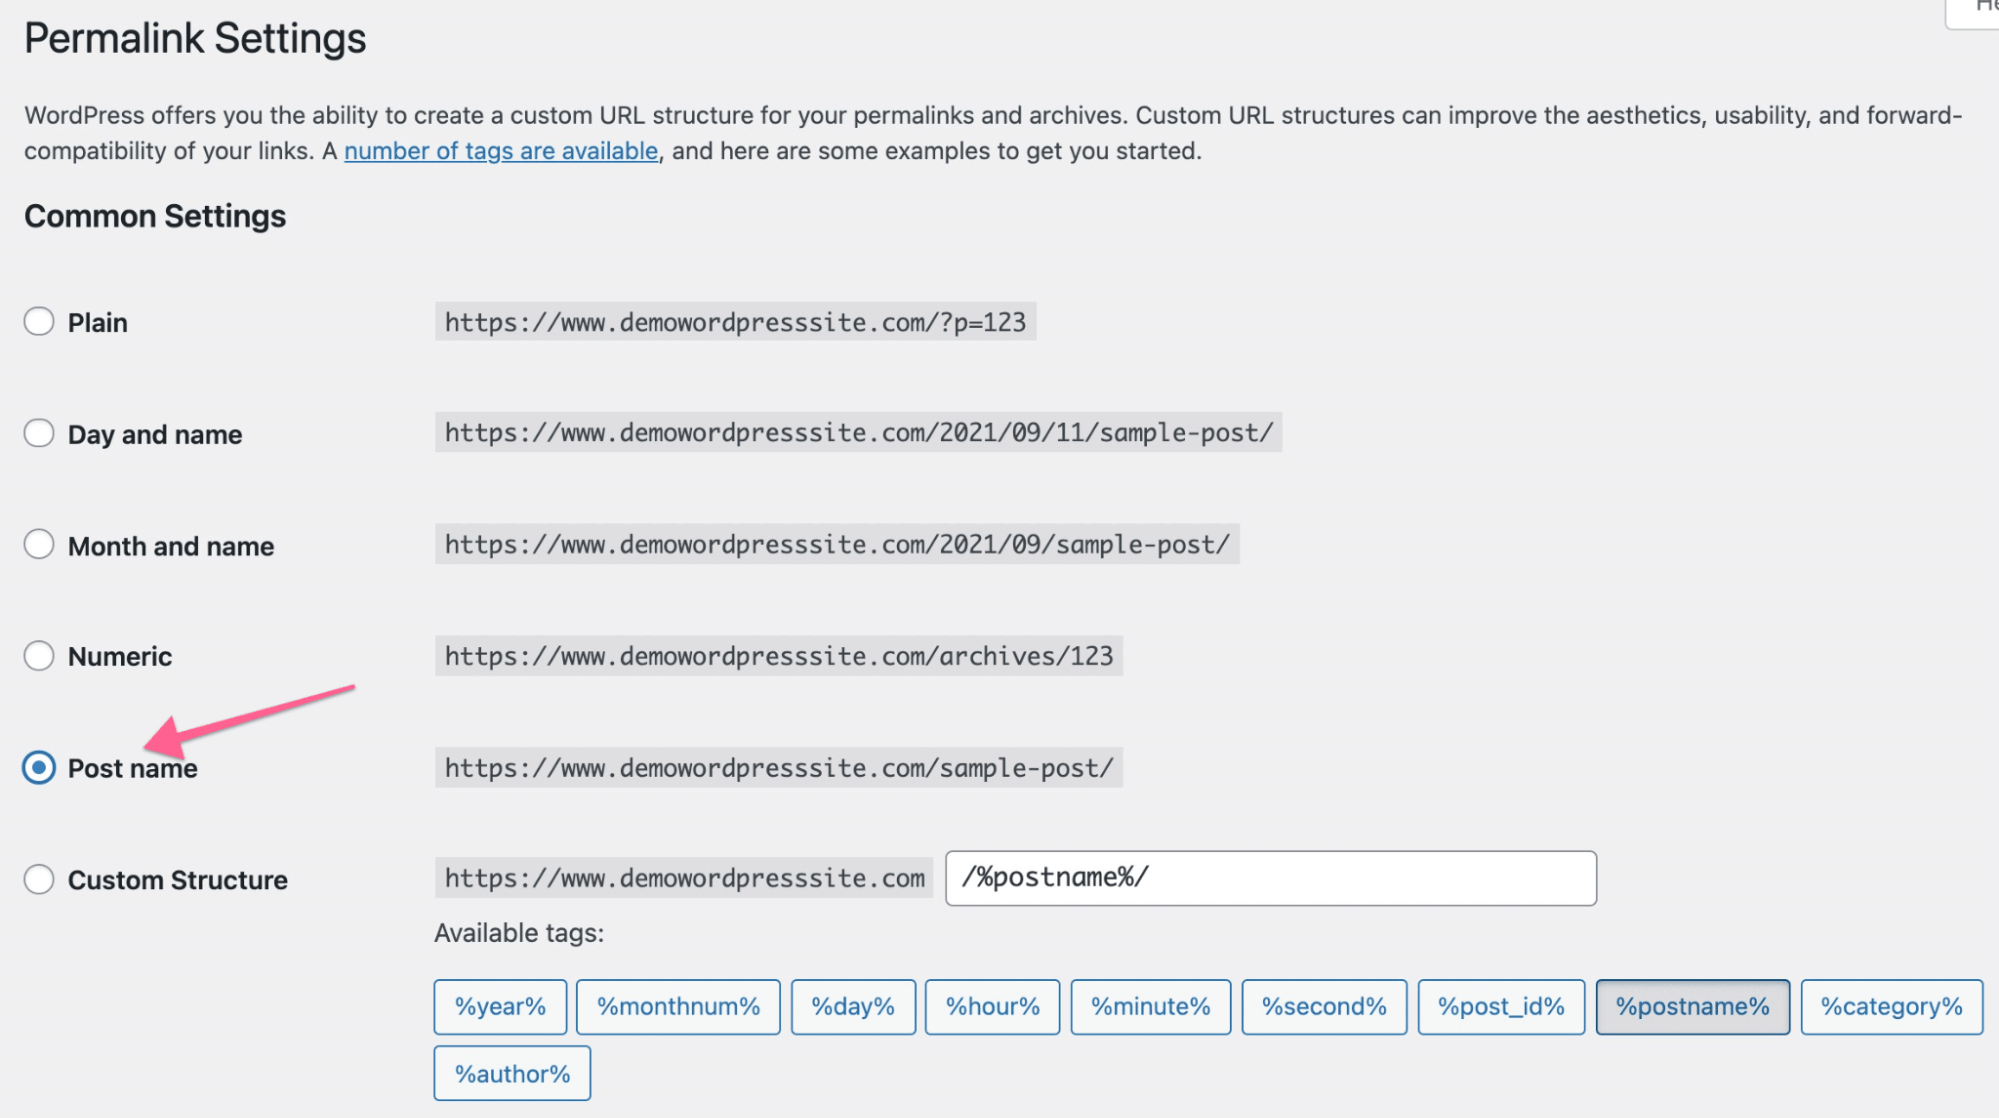
Save the settings and you'll notice that your website URL structure has changed and is now more unique and user-friendly.

Congratulations, You've Made It!
If you're still with me, you have now purchased the domain and web hosting, installed the free/premium theme, customized your blog, and optimized it for search engines. So, congratulations, you’ve built the foundation of your first authority site!
Starting a blog is fun and easy. But I won’t lie, a lot of work is ahead if you want it to be a successful income-generating blog. It’s going to take plenty of hard work and dedication.
In today's world, building a site is more affordable than ever before. So, I'd encourage you to go forward with your interest and passion and share your experience with the world through your own blog.
And remember, be transparent with your content, be honest. You're speaking to human beings, after all.
Enjoy your new blog!
If you get stuck anywhere during the steps, don't hesitate to comment below. I'll reply to all queries as soon as I can.
